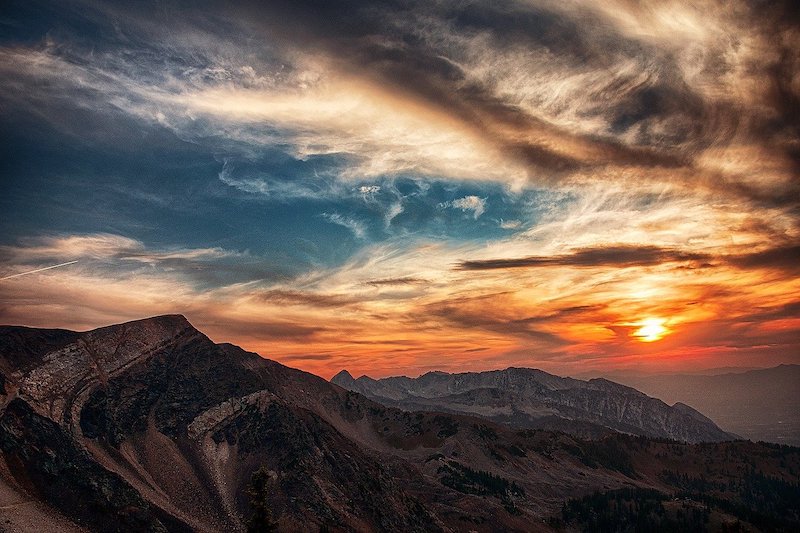
There’s a reason why most cinematic outdoor shots take place during the golden hour – that perfect moment just before sunset when the light is warm and soft. In daylight, things look good, but you can’t see the detail. However, once the sun has set and darkness falls, your camera sees a whole new world. That’s when your footage comes to life with striking shadows and vivid colours.
That doesn’t mean that shooting in daylight isn’t useful for capturing locations; it just means you need to come prepared with strategies for working with challenging lighting conditions. Here are some tips that will help you quickly combine videos into a reel from your outdoor footage, whether you’re camping or just enjoying the fresh air, even if you don’t get to shoot during golden hour every time.
1. Shoot in Manual Mode
Shooting in manual mode gives you the control you need to capture consistent images, even when the light changes. Manual mode allows you to set your shutter speed, aperture and ISO, and then adjust as needed while you shoot.
Although some film-makers use automatic settings, they’re not ideal for every situation. In fact, shooting in automatic mode is one of the biggest rookie mistakes when it comes to shooting outdoors.

2. Record Clean Audio
When you’re out in nature, you don’t always have the luxury of a soundstage. That doesn’t mean you can’t get great audio for your videos, though. In fact, natural sounds can add a lot of depth to your footage. Your best bet is to use an external microphone to capture audio.
That said, don’t rely on just one mic. Rather than using your camcorder’s built-in mic, consider using an external audio recorder.
Also, to add voice overs in your videos, you can explore the option of text to voice generators.
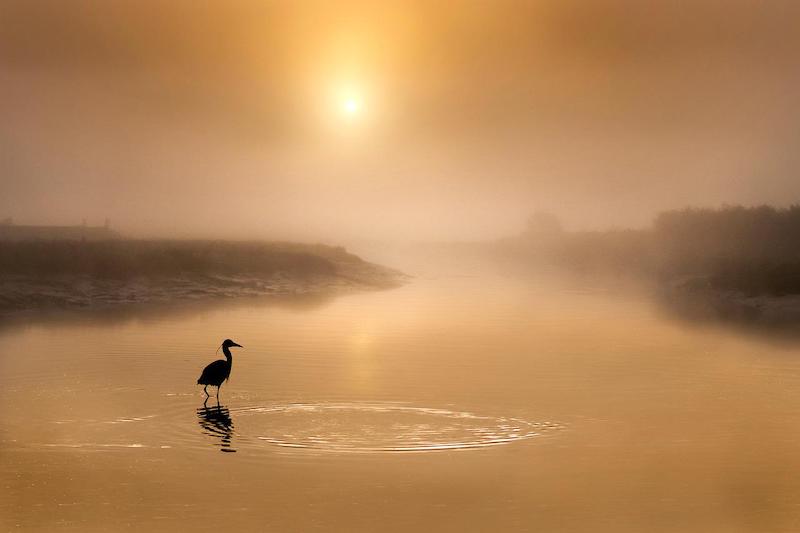
3. Utilise Natural Lighting
When you’re shooting in natural light, you don’t need to rush to set up lights in order to get the kind of lighting you want. In fact, when you’re outdoors, you don’t have to work with any lighting at all. That said, you still have some control over the quality and color of the light in your shots.
The best way to do this is to position yourself so that the light is coming from the side or behind you. This way, you’ll get nice sidelight or backlight that will add some extra drama to your shots.
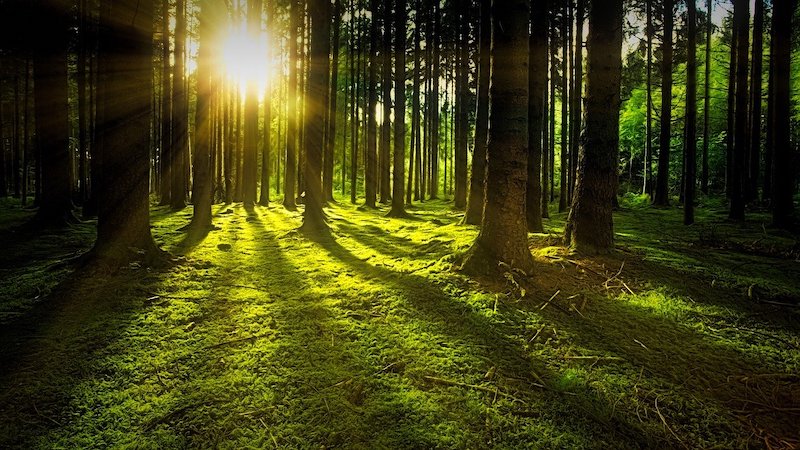
4. Use Shifting Shadows
Shadows are one of the best things about shooting outdoors, but they can also be a challenge. That’s because you don’t always know where the shadows will fall. When you’re shooting, however, you can use shadows to your advantage. However, you don’t want to create a shot that’s completely out of focus.
Instead, try using a long exposure to bring the shadows into focus. You can do this by setting your camera to a slow shutter speed and then adjusting the ISO as needed. This will ensure that the rest of your shot remains in focus while the shadows become a beautiful blur.
5. Take Advantage of Colour Grading
If you’re unable to get your shot during golden hour, or if you’re finding that your footage isn’t as vibrant as you’d like it to be, you might want to consider colour grading your video. Colour grading for reels gives you the ability to adjust the colour and tonal qualities of your footage after you’ve recorded it. You can use colour grading software to adjust everything from the saturation to the contrast, as well as add a variety of filters.
By grading your footage, you’re able to bring out the best in your shots, even if you didn’t get the lighting right when you were shooting.
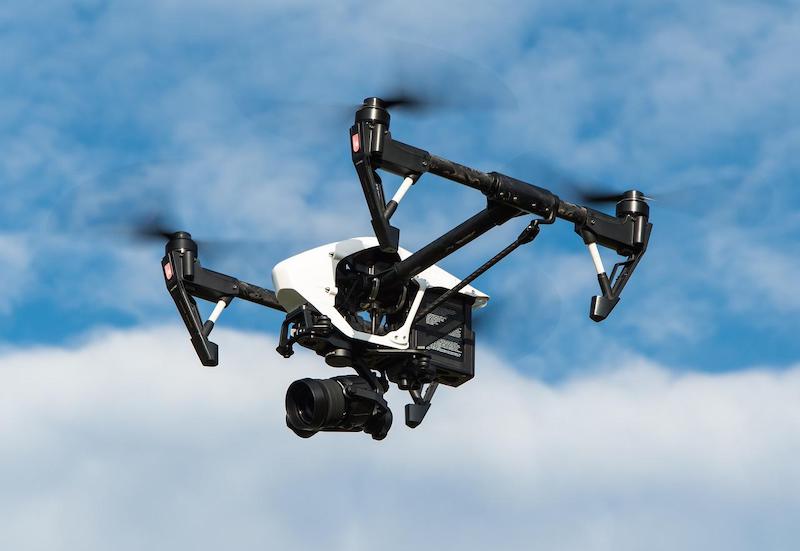
6. Use a Drone
Drones are becoming more and more popular for shooting outdoor footage. That’s because they give you the ability to get shots that would otherwise be impossible. If you want to get a bird’s eye view of a location, for example, a drone is the perfect tool.
Just keep in mind that there are a few things to consider before using a drone. First, you need to make sure that you’re familiar with the drone and how to operate it. You should also be aware of the drone laws in your area.
7. Edit Your Footage
Once you’ve shot all of your footage, it’s time to start editing. This is where you’ll put all of your shots together and create a cohesive reel.
There are a few things to keep in mind when editing your reel. First, you want to make sure that your footage is well-organized. This will make it easier to find the shots you want to use.
Second, you want to make sure that your reel has a clear beginning, middle, and end. You don’t want your reel to feel like a series of random shots.
Finally, you want to make sure that your reel is the right length. A good rule of thumb is to keep your reel to two minutes or less.
8. Add Music
Once you’ve edited your reel, it’s time to add music. Music is a great way to set the tone of your reel and to keep the viewer engaged.
When choosing music for your reel, you want to make sure that it fits the tone of your footage. If your footage is light and airy, for example, you might want to choose a song with a similar feel.
You also want to make sure that the music you choose is royalty-free. This way, you won’t have to worry about copyright issues down the road.
9. Export Your Reel
Once you’ve added music to your reel, it’s time to export it. When exporting your reel, you want to make sure that you’re using the right settings. The settings you choose will depend on where you’re planning to share your reel.
If you’re planning to share your reel on social media, for example, you’ll want to choose a lower resolution. If you’re planning to show your reel at a film festival, on the other hand, you’ll want to choose a higher resolution.
10. Share Your Reel
Once you’ve exported your reel, it’s time to share it with the world. If you’re planning to share your reel on social media, you can upload it directly to platforms like YouTube and Vimeo.
If you’re planning to show your reel at a film festival, you can submit it through a platform like Withoutabox.
By following these tips, you can easily create a reel from your outdoor footage.
